Series Paris


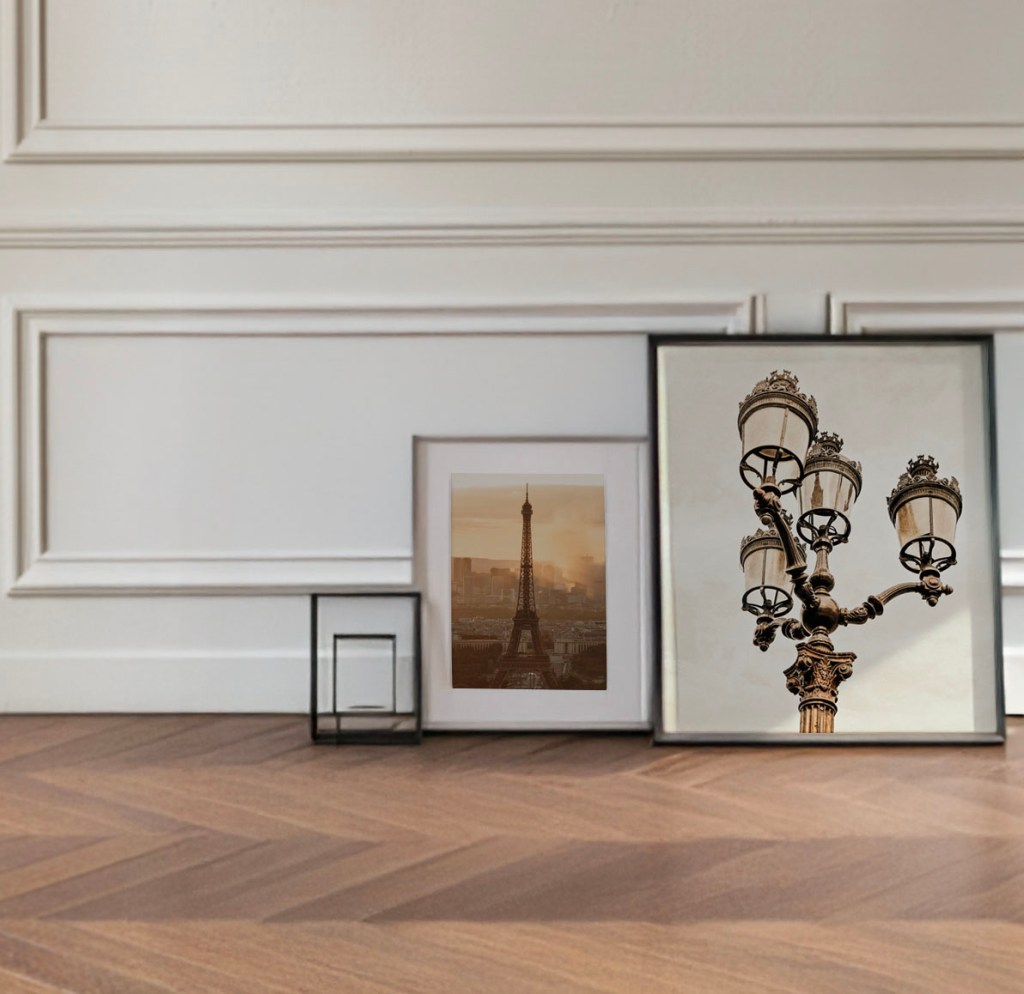


It’s my pleasure to introduce this series of three photographs, captured during a trip to the Château des Baux in France. Presented in black and white, this collection reflects my approach of combining multiple images into a series that can seamlessly adapt to any environment. I hope you enjoy the timeless atmosphere they convey.
 This is the most extraordinary thing about motherhood – finding a piece of yourself separate and apart that all the same you could not live without.
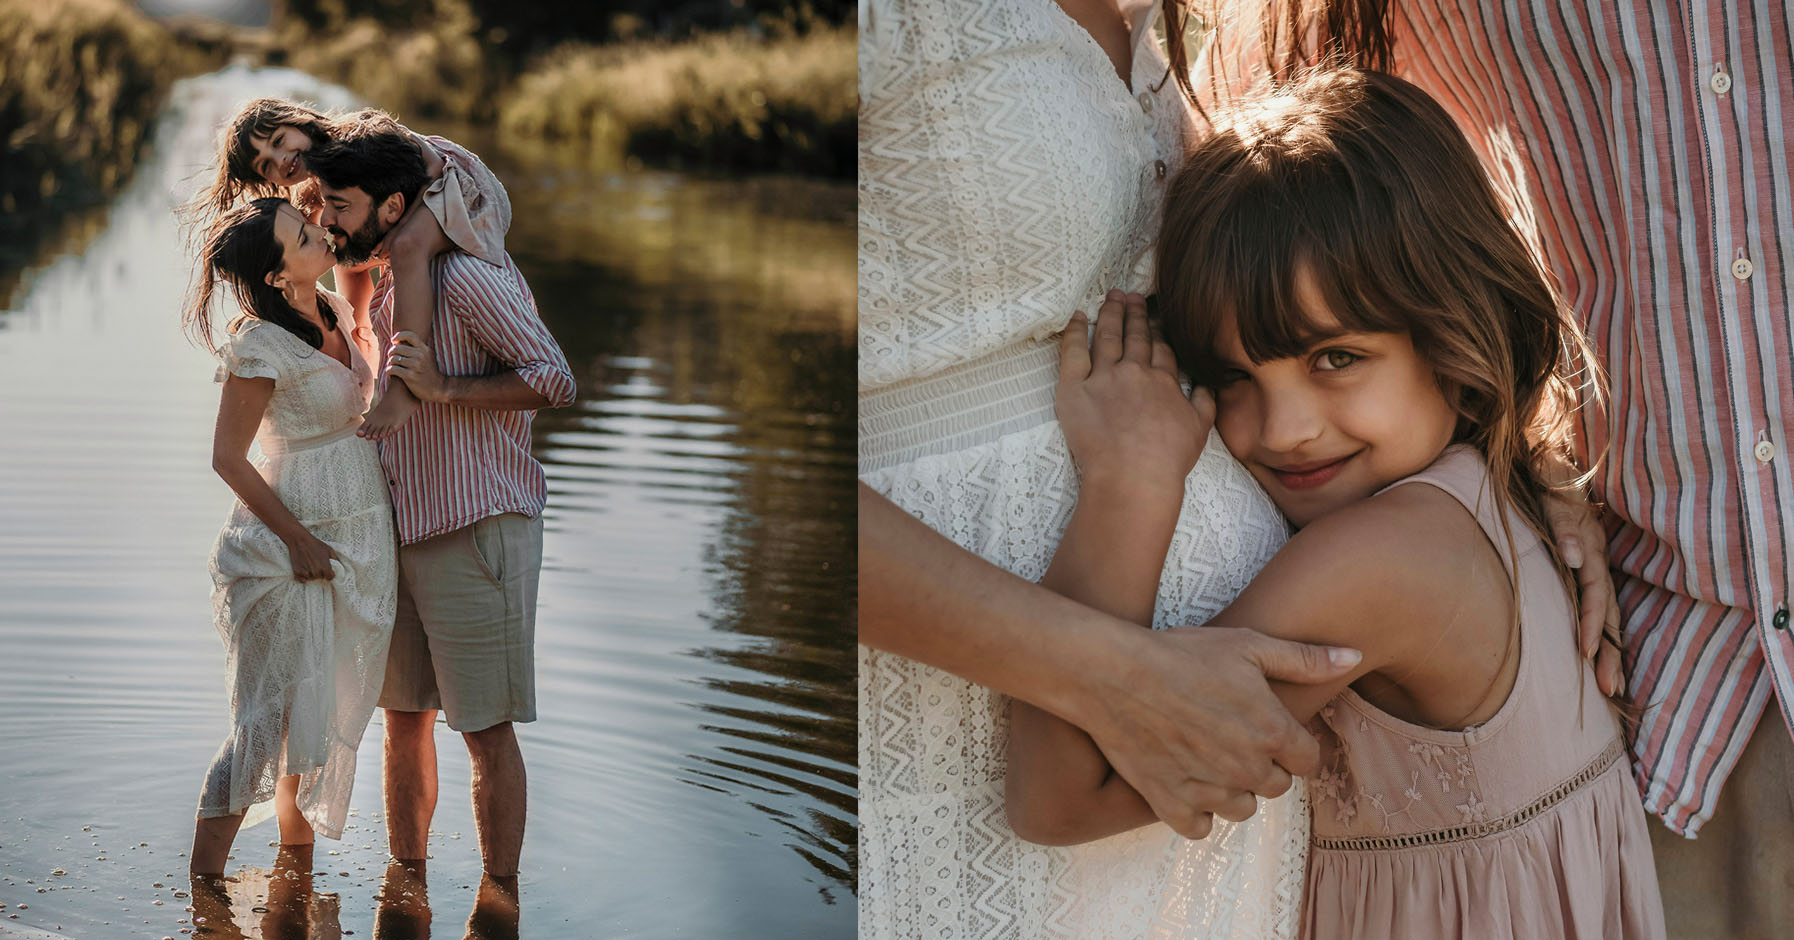


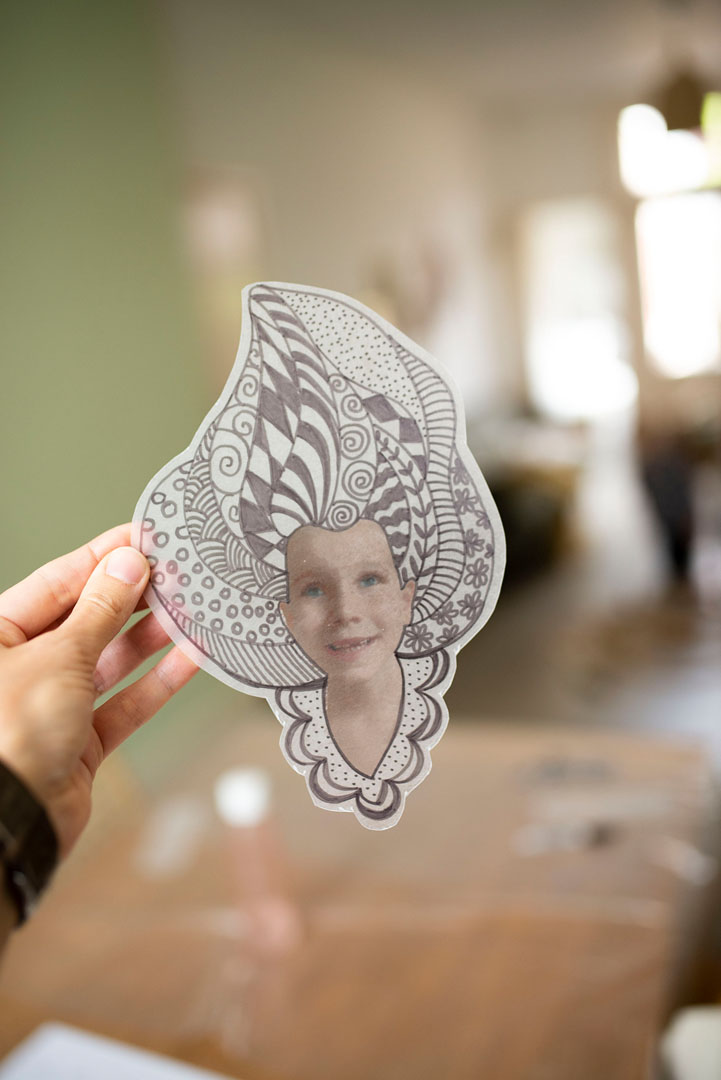
My dear daughter, Lorena is always ready to embark with me on my follies. Since she lost her front baby teeth, the new ones came with all its strength and she reminds me a lot of Pippi. I just knew we had to portray this somehow one day. Not to mention that Pippi is a symbol of a girl who can everything! Perfect. For more Pippis in this world! By the Way, my Instagram showed me that this was a big favourite. @andreakjanes
I think people really like Pippi!


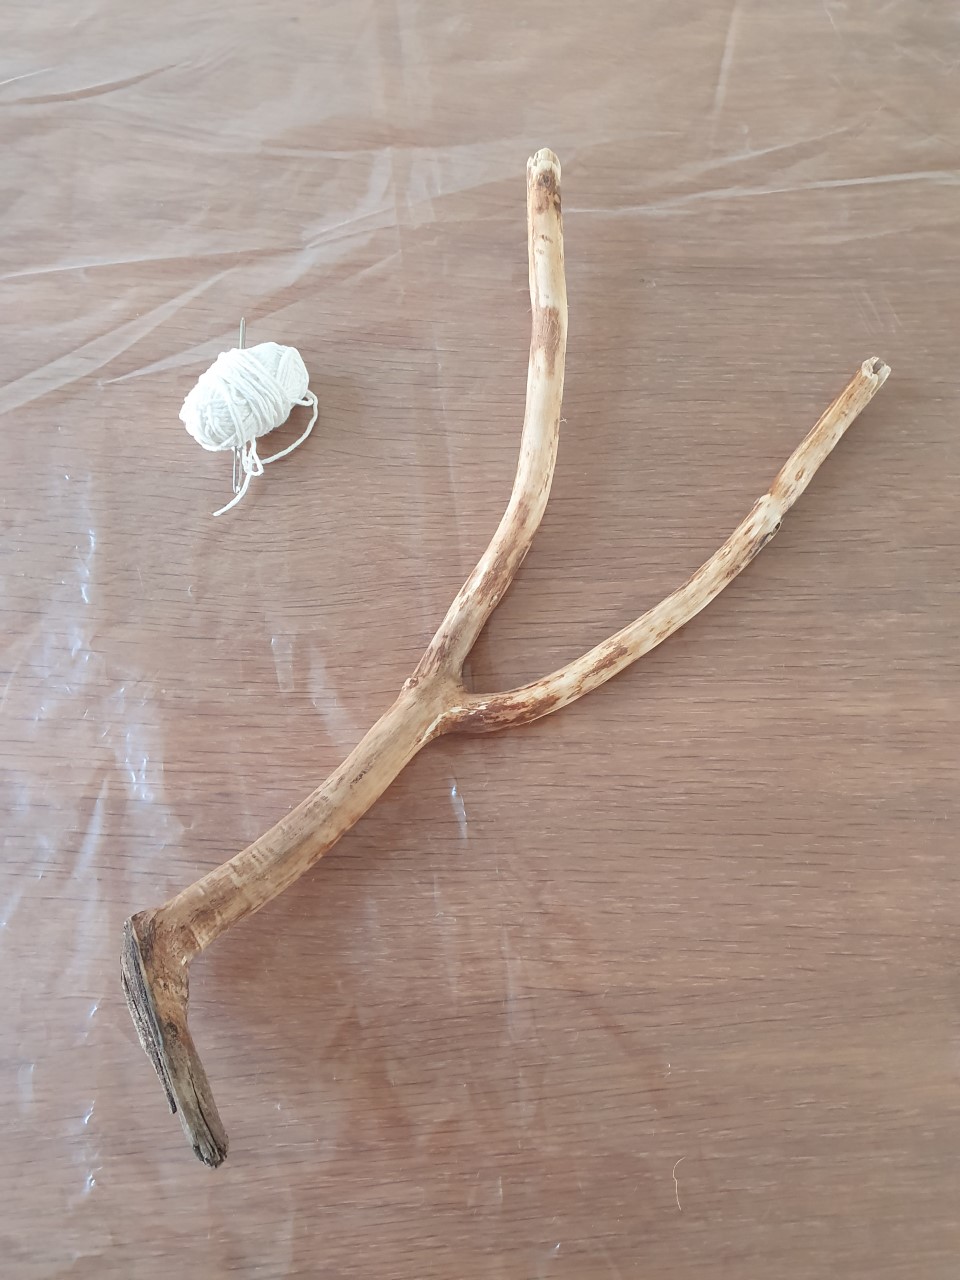
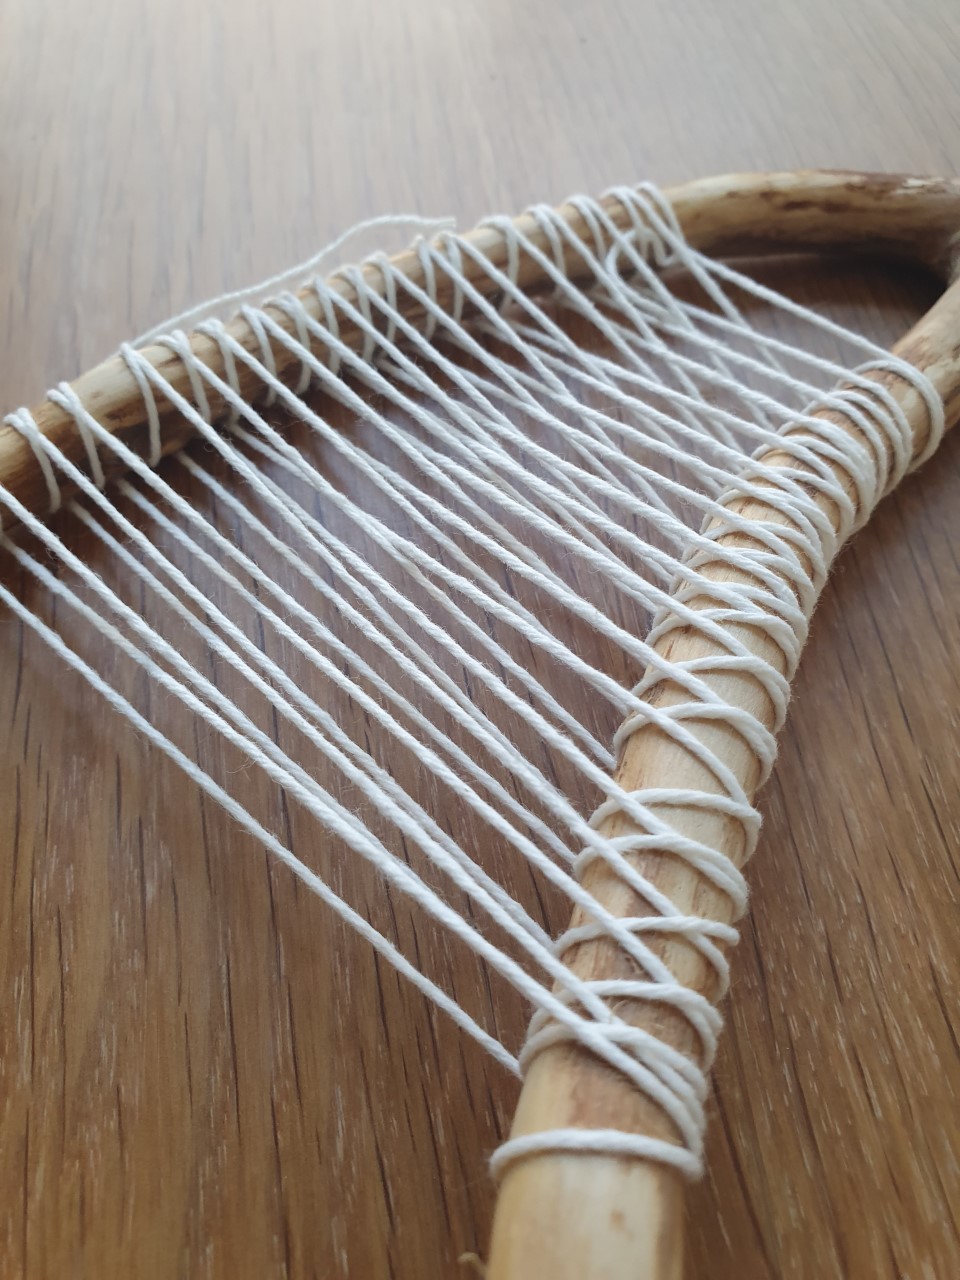
A gente vem trazendo a natureza para casa, principalmente depois que minha filha nasceu. Algumas dessas coisas vão parar nos bolsos dos casacos, no filtro da máquina de lavar e assim por diante. Acontece que algumas dessas coisas que as crianças pegam na rua, acabam ficando. Vão parar em quadros, em crafts e até em vasos. Recentemente foi este pedaço de madeira com formato de estilingue. Eu trouxe então a técnica do tear para este galho e ele ganhou um espaço na parede acima do sofá.
We have been bringing nature home, especially after my daughter was born. Some of these things end up in the jacket pockets, the washing machine filter, and so on. It turns out that some of those things that children pick up on the street, end up staying. They will be on the walls, some kids crafts and even vases. We found recently this sling-shaped piece of wood. I then brought the weaving loom technique to this branch and it gained space on the wall above the sofa. We love it!


weaving, weaving branch, branch weaving, nature weaving, tear, DIY
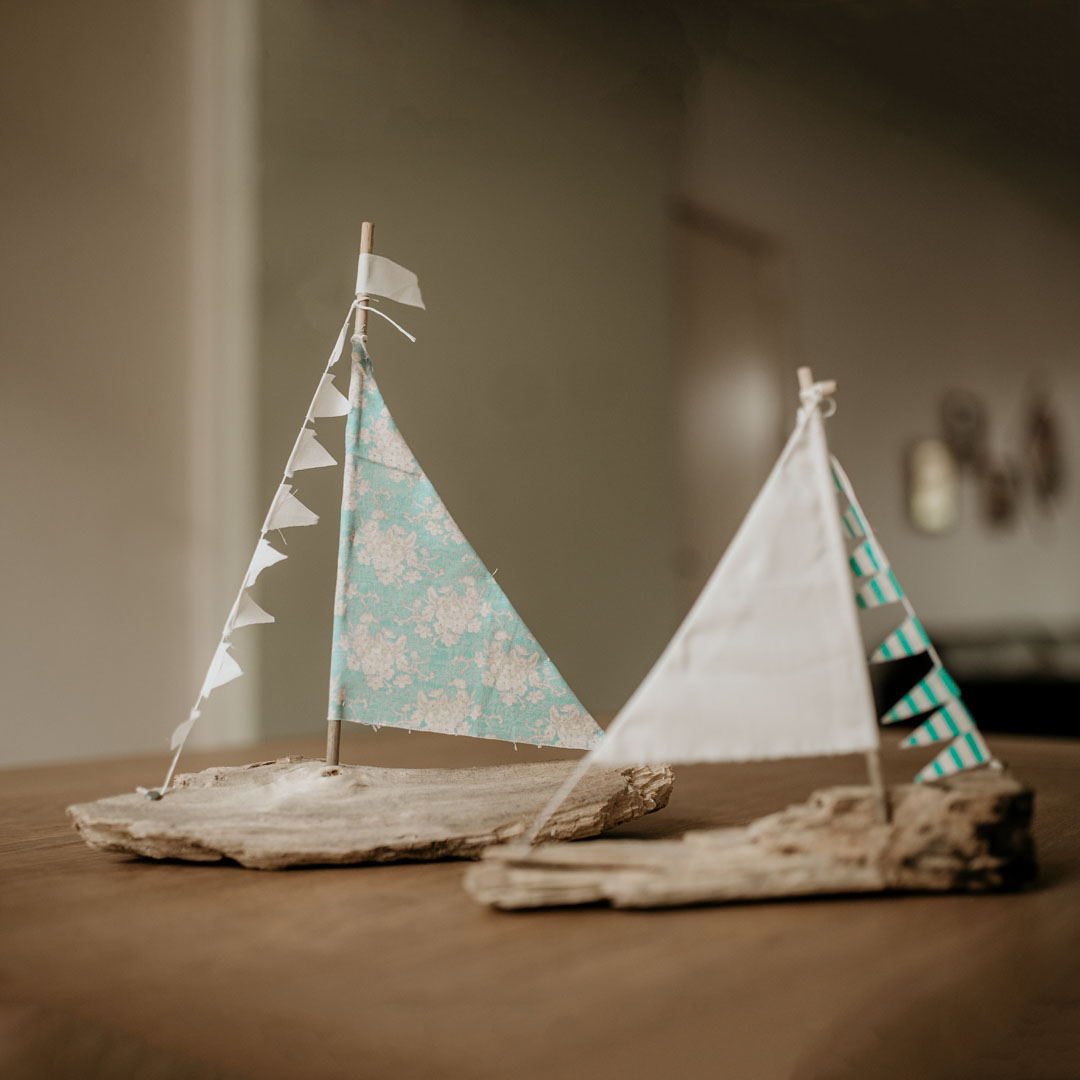
Estes barcos a vela que fizemos são lindos e eles realmente flutuam na água!
Basta arranjar um pedaço de madeira e um palito de pau, longo o bastante para colar ou costurar uns pedaços de pano. Eu usei tachinhas para mural e assim amarrei as cordas. Quanto mais rústicos, mais bonitos, então, esuece a perfeição! ;)
These sailing boats are so beautiful and they really float!
Just get a piece of wood and a long enough wooden stick, glue or sew a few pieces of cloth. I used studs for murals and so I tied the strings. The more rustic, the more beautiful, then, forget perfection! ;)


crafts, sailboat, sailing boat craft, driftwood sailboat, barco a vela DIY, Barco a vela criação,


Esta técnica é muito fácil e muito divertida. Tudo o que você precisa:
– Shrink Paper
– Canetinhas permanentes
– Uma ferramenta que faz furinhos
– Forno
This technique is very easy fun. All you need here:
– Shrink Paper
– Permanent markers
– A tool to make holes
– Oven

Desenhe na parte áspera do papel
Draw on the rough part of the paper
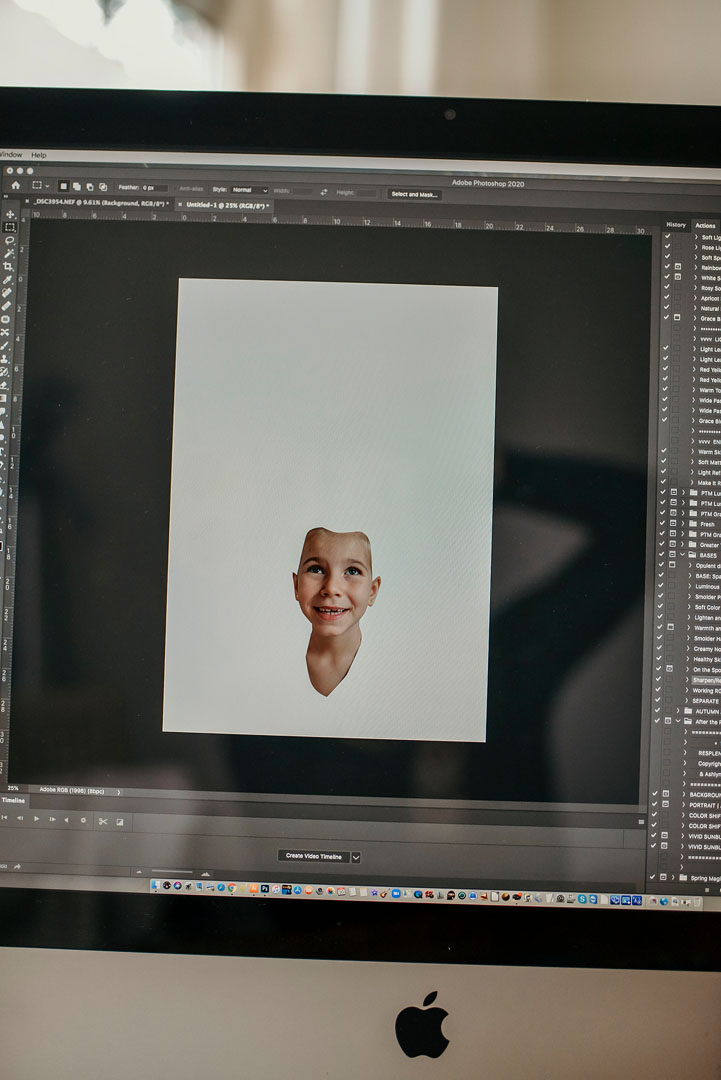
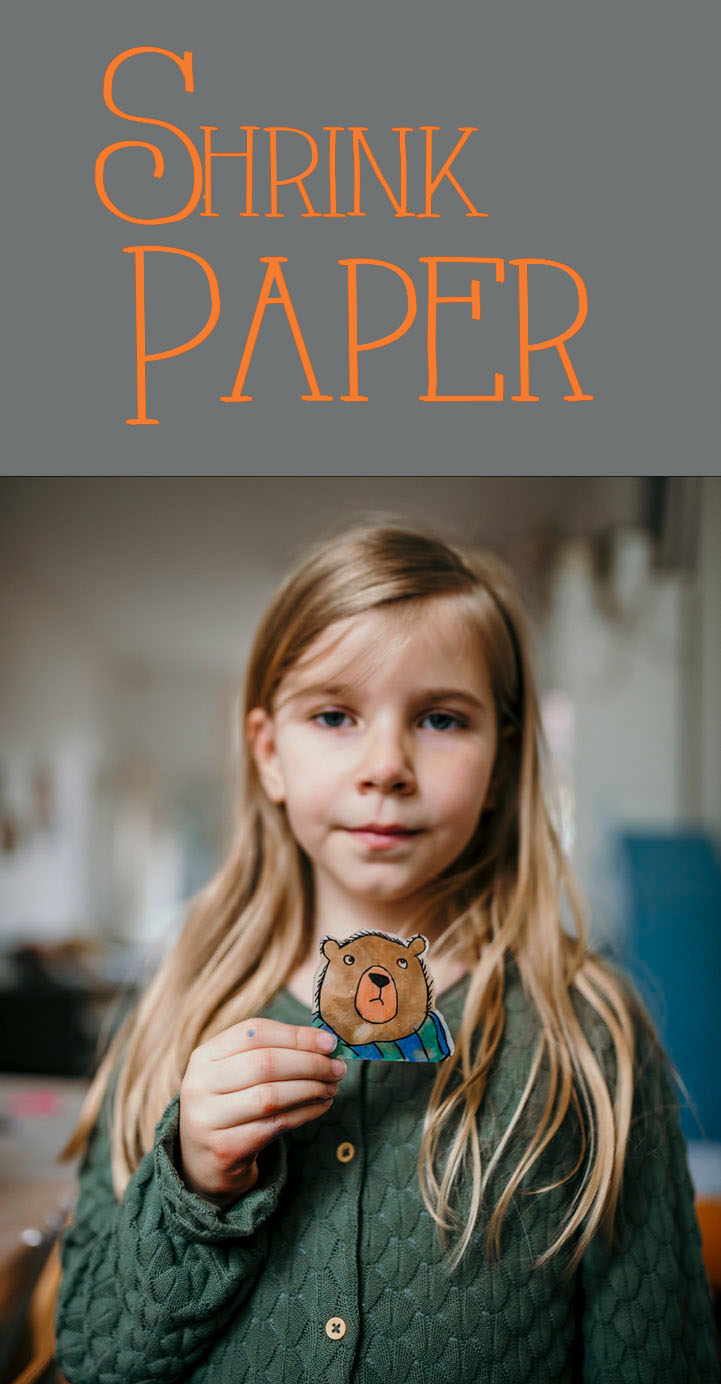
Aqui eu imprimi na Inkjet e desenhei o cabelo da minha filha. Não achei que a técnica deu muito certo. A impressão ficou bastante clara e sem muita definição. Mas valeu a tentativa.
Tenha cuidado ao cortar o Shrink Paper pois ele pode ser bem quebradiço, depende do ângulo usado.
Here I printed my daughter’s face and drew her hair after. I don’t think the technique worked very well. The print was very light and doesn’t have much definition. But it was worth the try.
Be careful when cutting Shrink Paper as it can be very brittle, depending on the angle used.

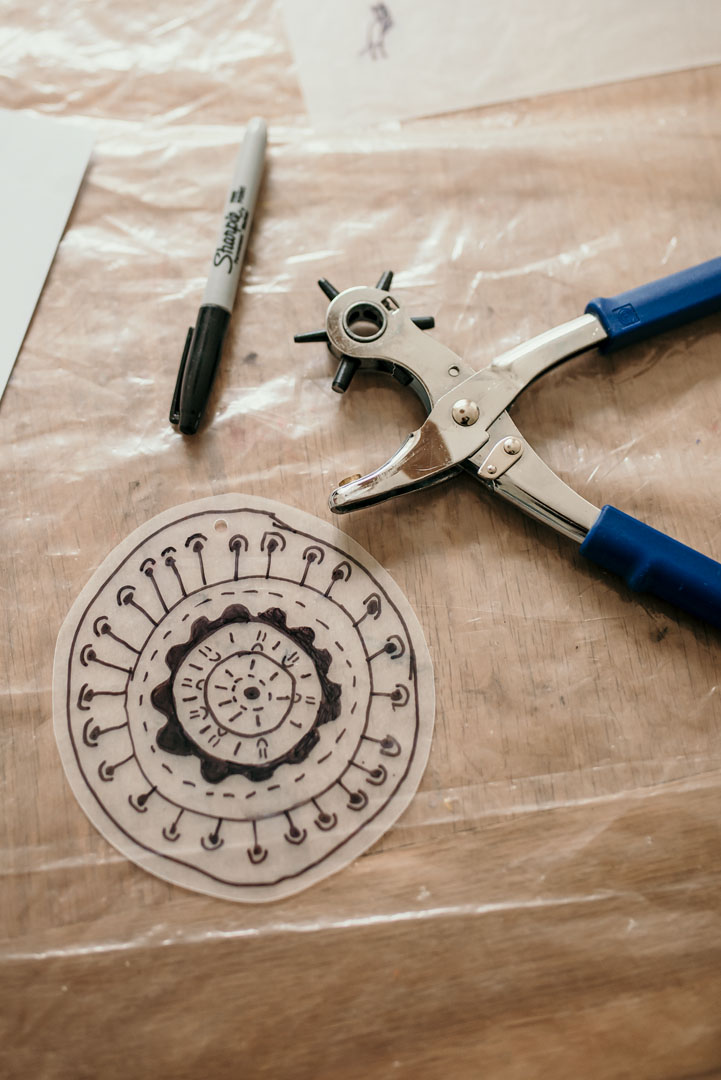
Faça um buraco antes de colocar no forno caso queira que seu projeto vire um chaveiro ou um colar. O ‘papel’ virará um plástico grosso e depois será muito difícil fazer o buraco, portanto esta é a hora.
Make a hole before putting it in the oven if you want your project to become a key chain or necklace. The ‘paper’ will become a thick plastic and then it will be very difficult to make the hole, so do it now.
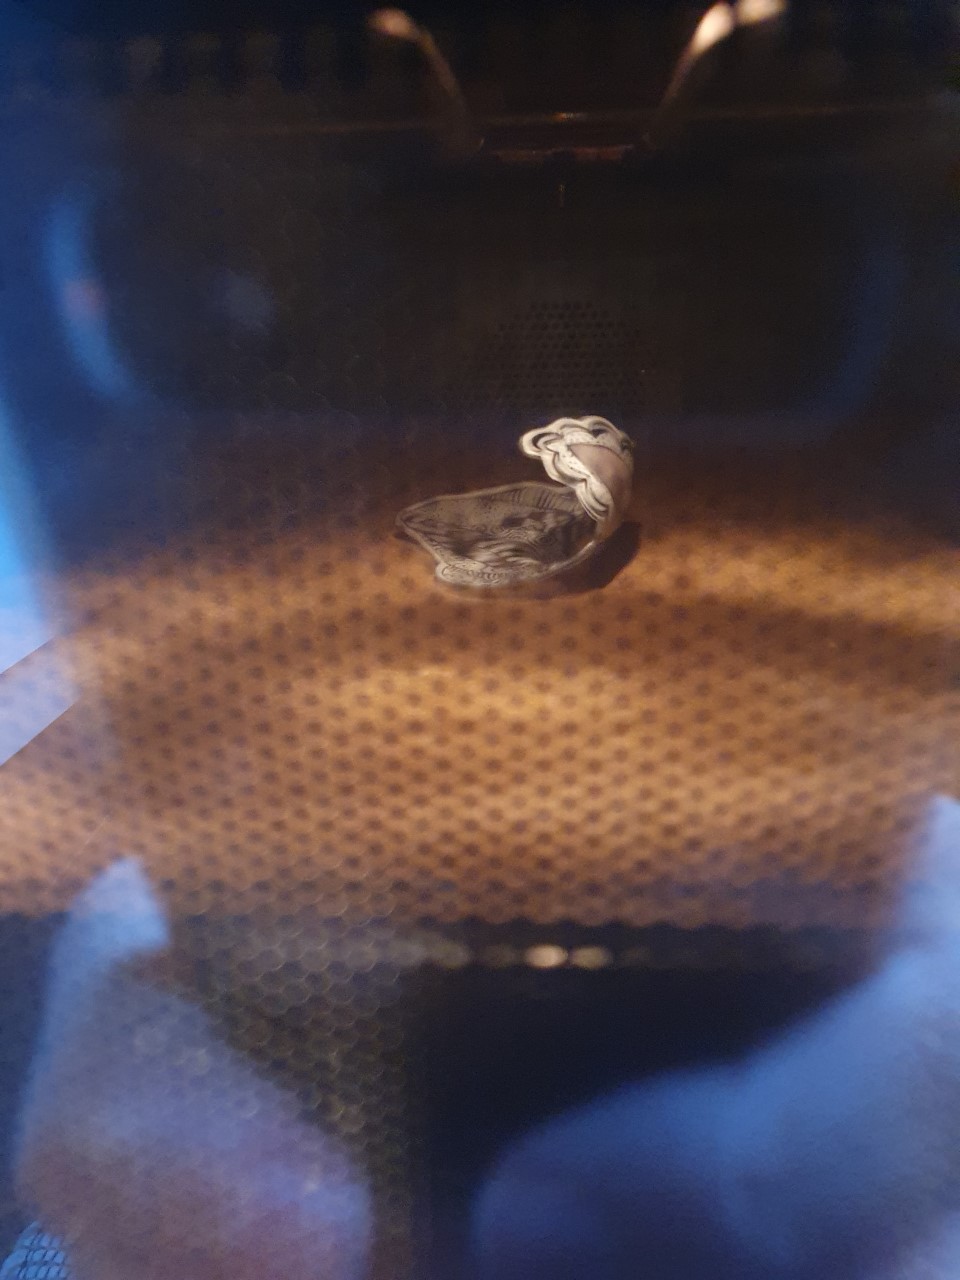
Aqueça o forno 150 Celsius. Coloque o papel com a parte áspera para cima. Feche o forno e veja o papel se contorcer inteiro.Quando ele voltar ao normal e ficar esticado novamente, está pronto.
Heat the oven to 300 Fahrenheit. Load the paper with the rough side up. Close the oven and watch the paper squirm all over. When it returns to normal and stretches again, it is ready.
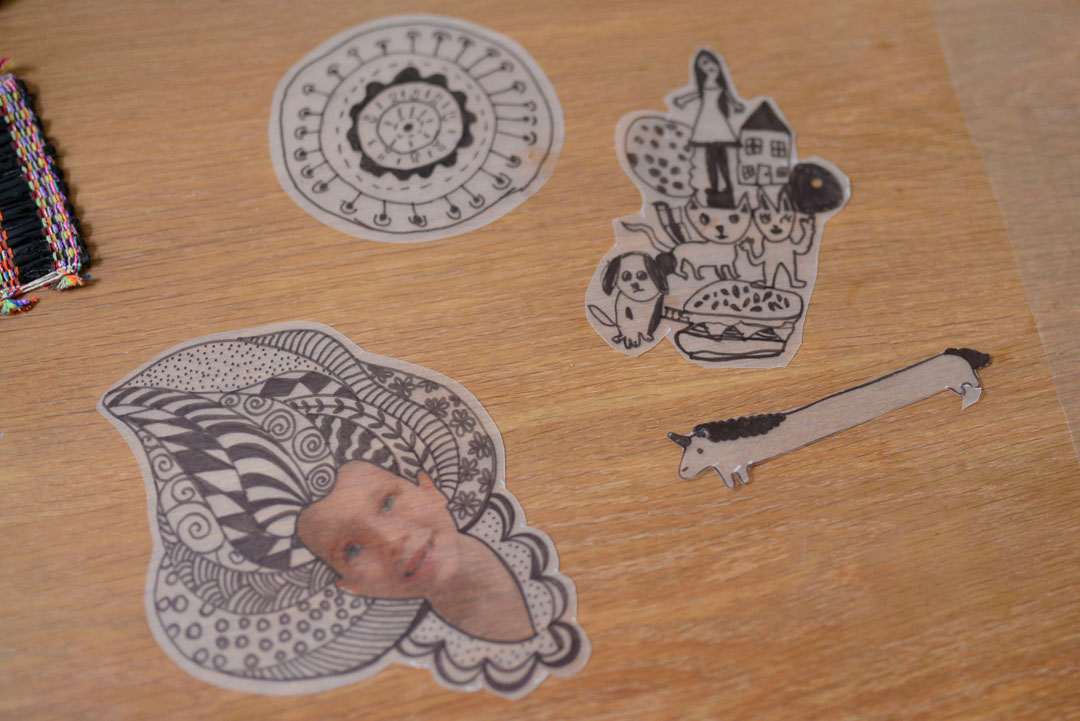
Para ver vídeos do Shrink Paper, acesse o meu Instagram, andreakjanes, e veja nos highlights. :)
To see videos from Shrink Paper, access my Instagram, andreakjanes, and find it in the highlights! :)
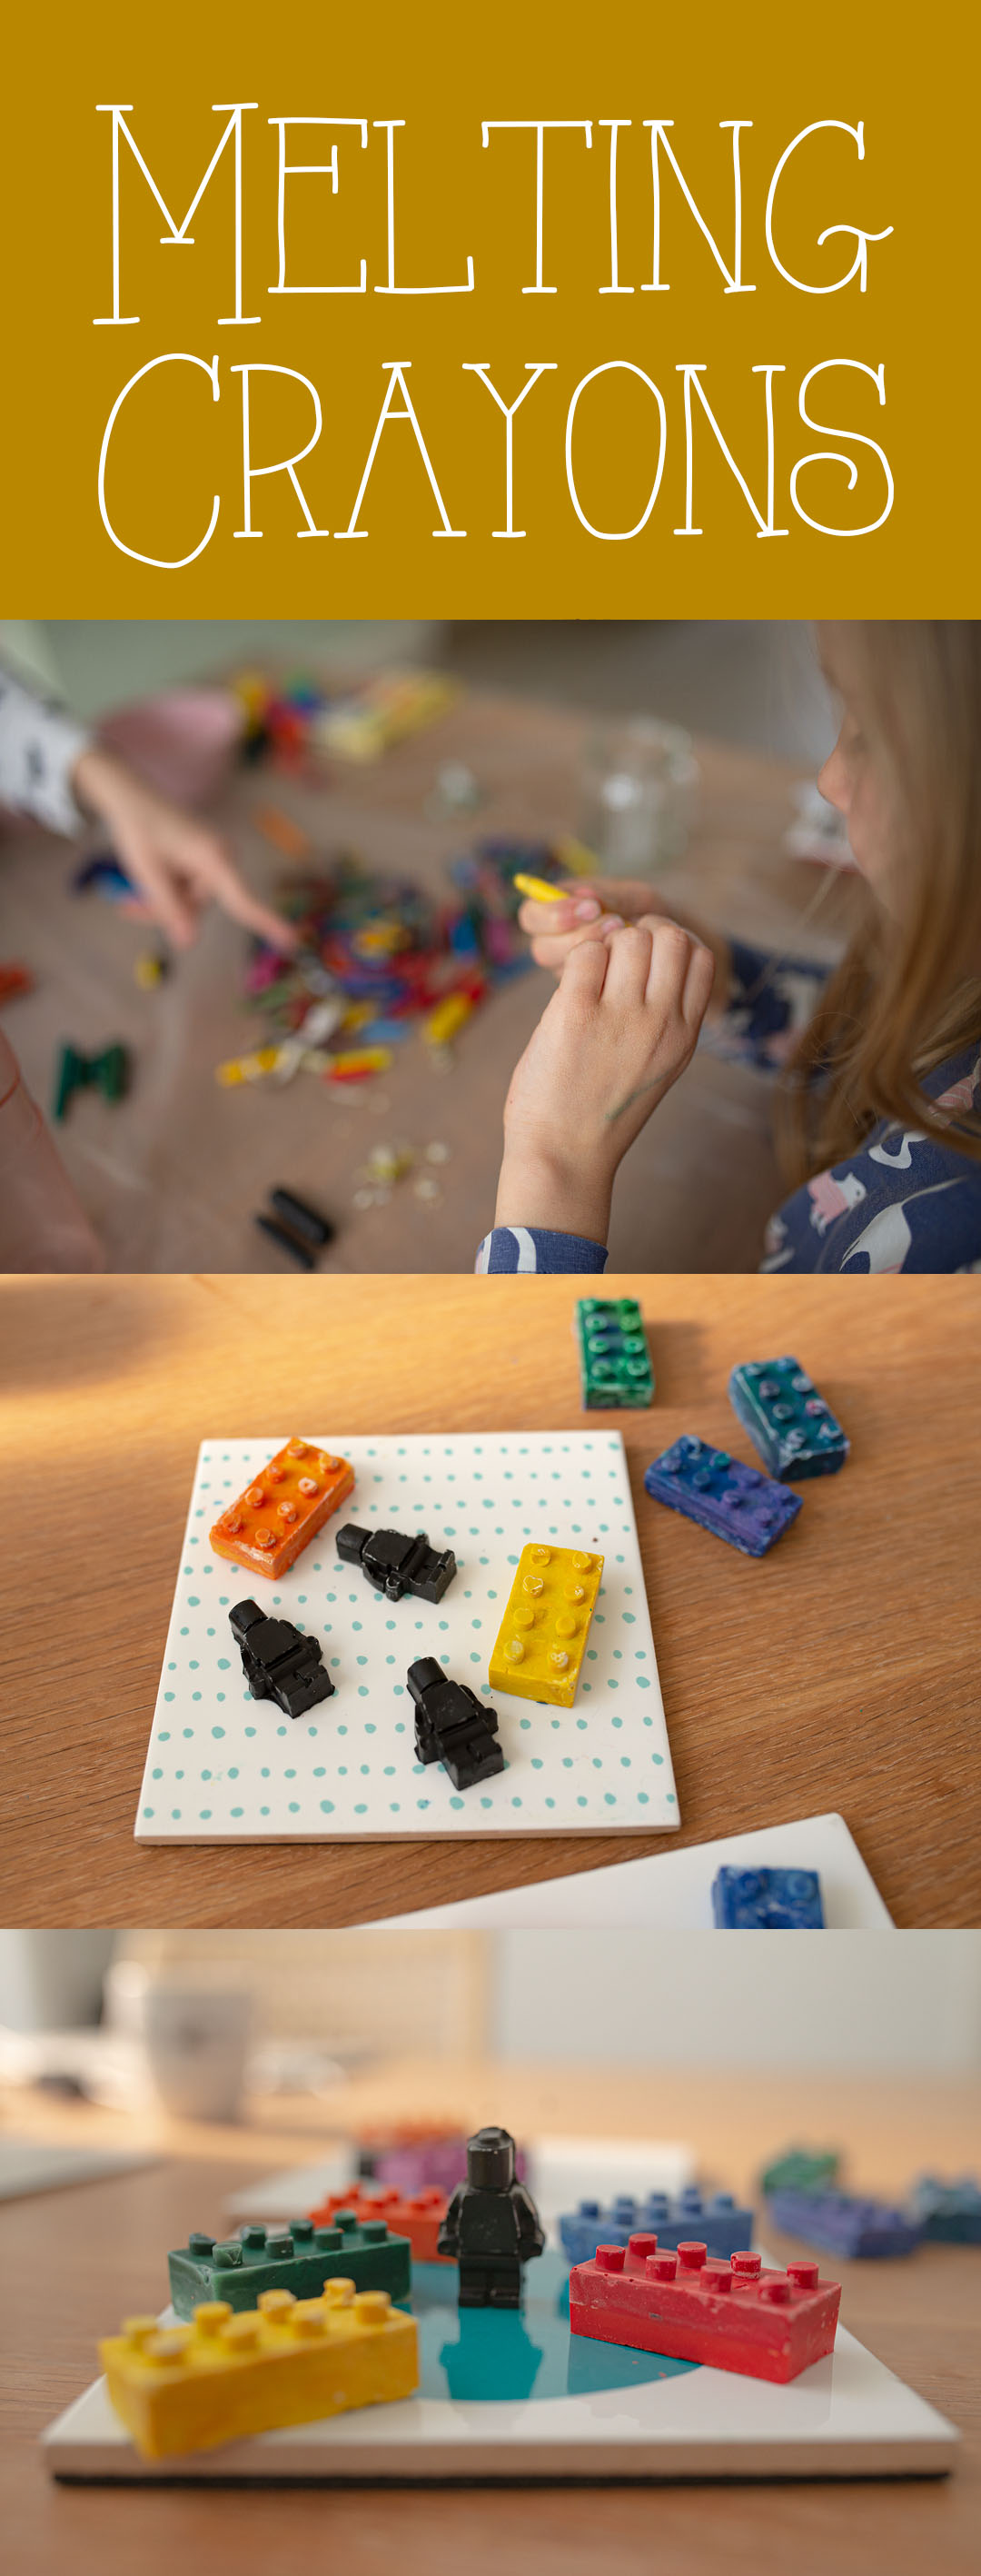
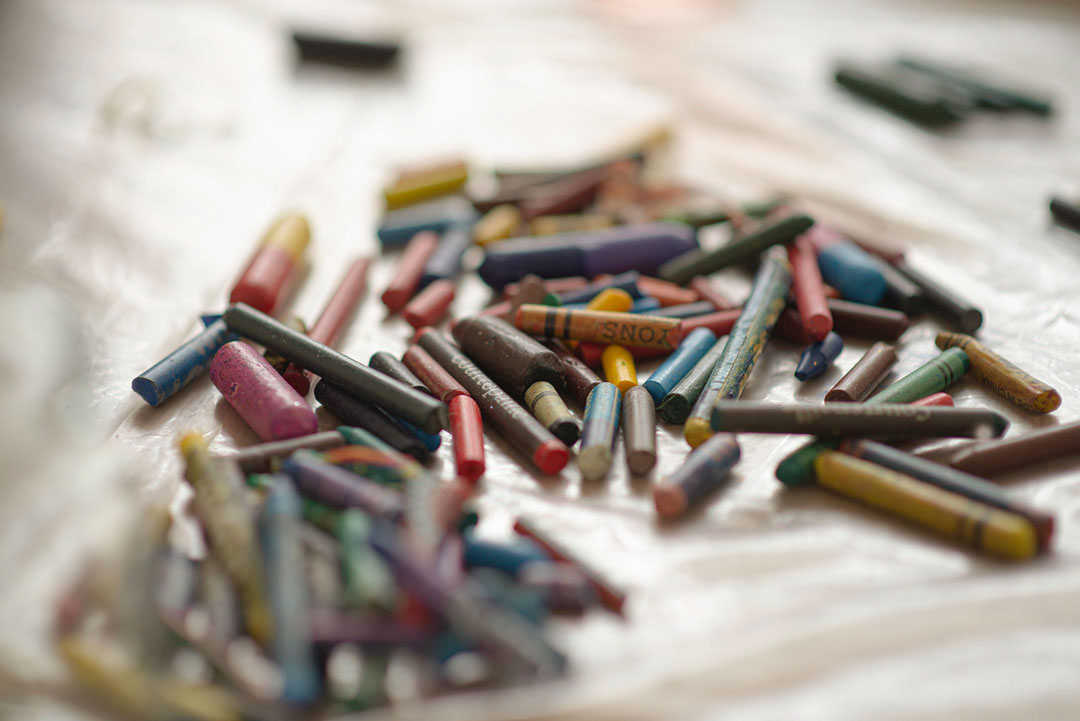
Só tenho a dizer que é muito fácil. Aqui é o que você vai precisar:
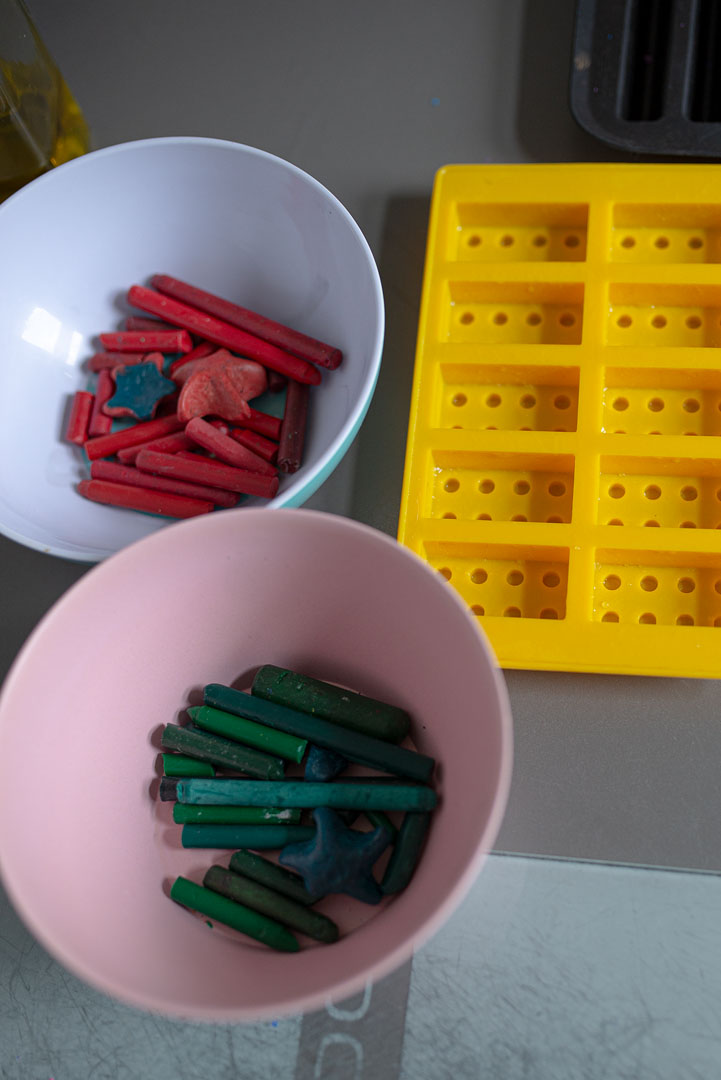
– Forminhas
– Gizes de cera velhos e quebrados.
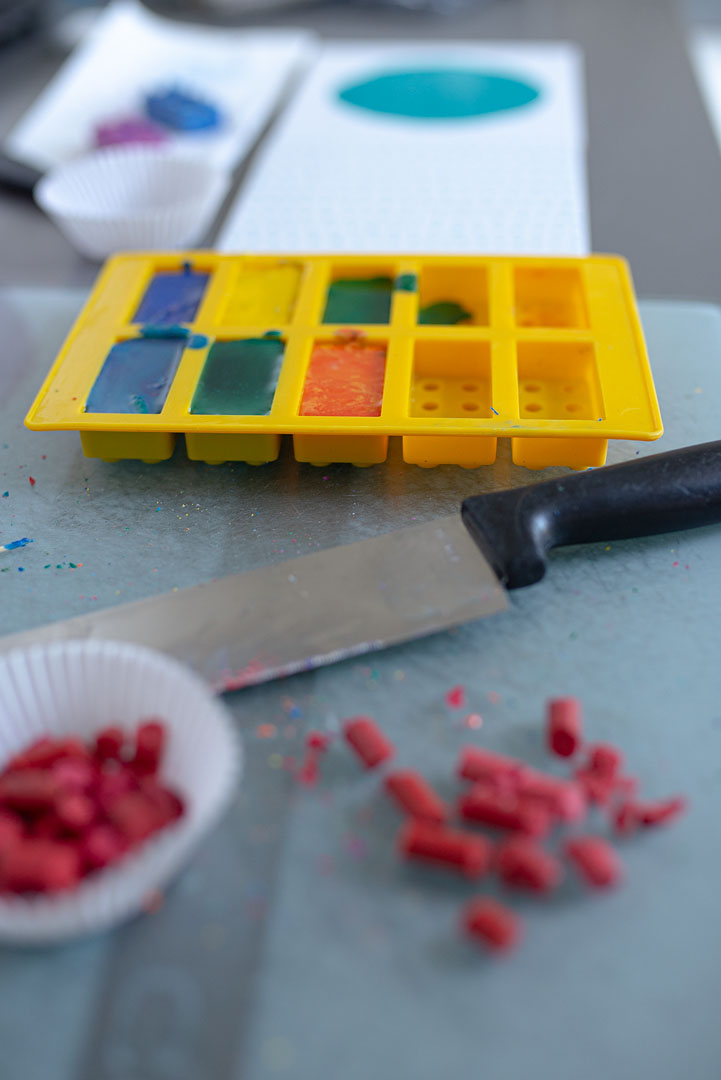
Derreta em formas próprias para forno por uns 15 minutos ou menos e despeje nas forminhas de silicone. Deixe até secar bem.
Caso suas forminhas de silicone possam ir ao forno, faça diretamente nelas.
It’s so easy to make them. You will need:
– a mold
– broken crayons with paper peeled off
Melt in oven-safe forms for 15 min more or less and pour into shaped silicone molds. Let it dry well.
If your silicone molds can go in the oven, make them directly there.

Estamos aqui sobrevivendo a quarentena e aproveitando para botar em prática um monte de projetinhos que estavam engavetados, esperando uma oportunidade. Não que haja muito tempo sobrando mas não temos mais aquela urgência de sair, de ir e vir, de buscar, de levar, de se trocar (digo, se produzir, haha) e junto com o marido, alternando nas tarefas de casa, vamos dando conta do que precisa ser dado.
Aqui vem um projetinho tão fácil e as crianças gostaram muito.
We are here surviving the quarantine and taking the opportunity to put into practice a lot of little projects that were shelved, waiting for an opportunity. Not that there is much time left but we no longer have that urge to leave, to come and go, to pick up, to bring, to get changed (I mean, to put some effort so people don’t get scared outside, haha) and together with dear husband, we are alternating in the housework. We are nailing it well.
Here comes a project so easy and the kids liked it a lot.

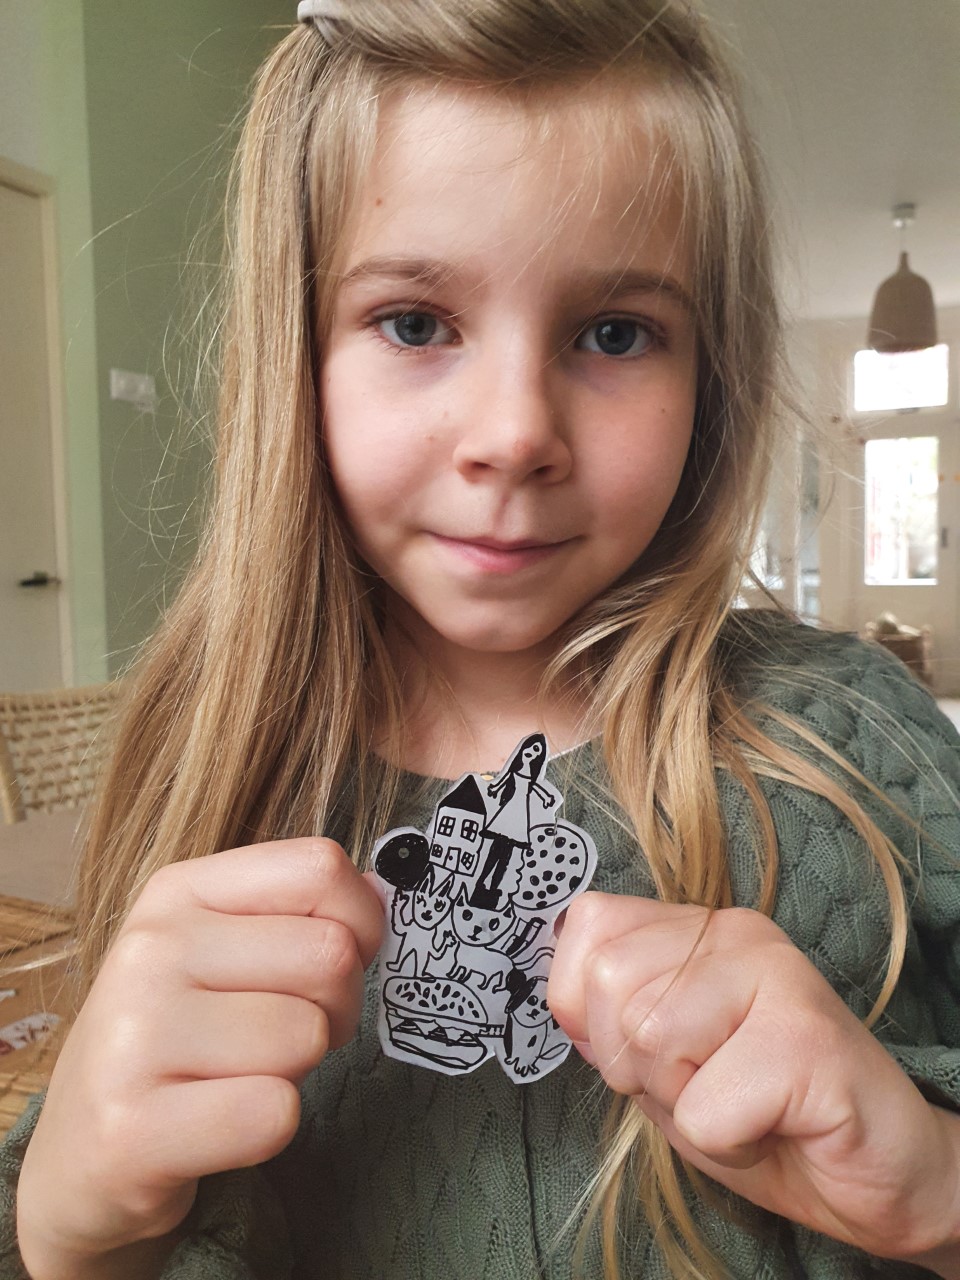
Vocês conhecer o peixe chamado Angler? Ou talvez tenham ouvido falar sobre o peixe lanterna? Desde que a Lorena vem estudando sobre animais, ela ficou muito interessada neste peixe tão singular. Calma, depois dele, tem muito outros animais!
Do you know the fish called Angler? Or maybe you heard about the flashlight fish? Since Lorena has been studying animals, she has been very interested in this unique fish. After this one, you will see many other animals, made by myself and the kids.


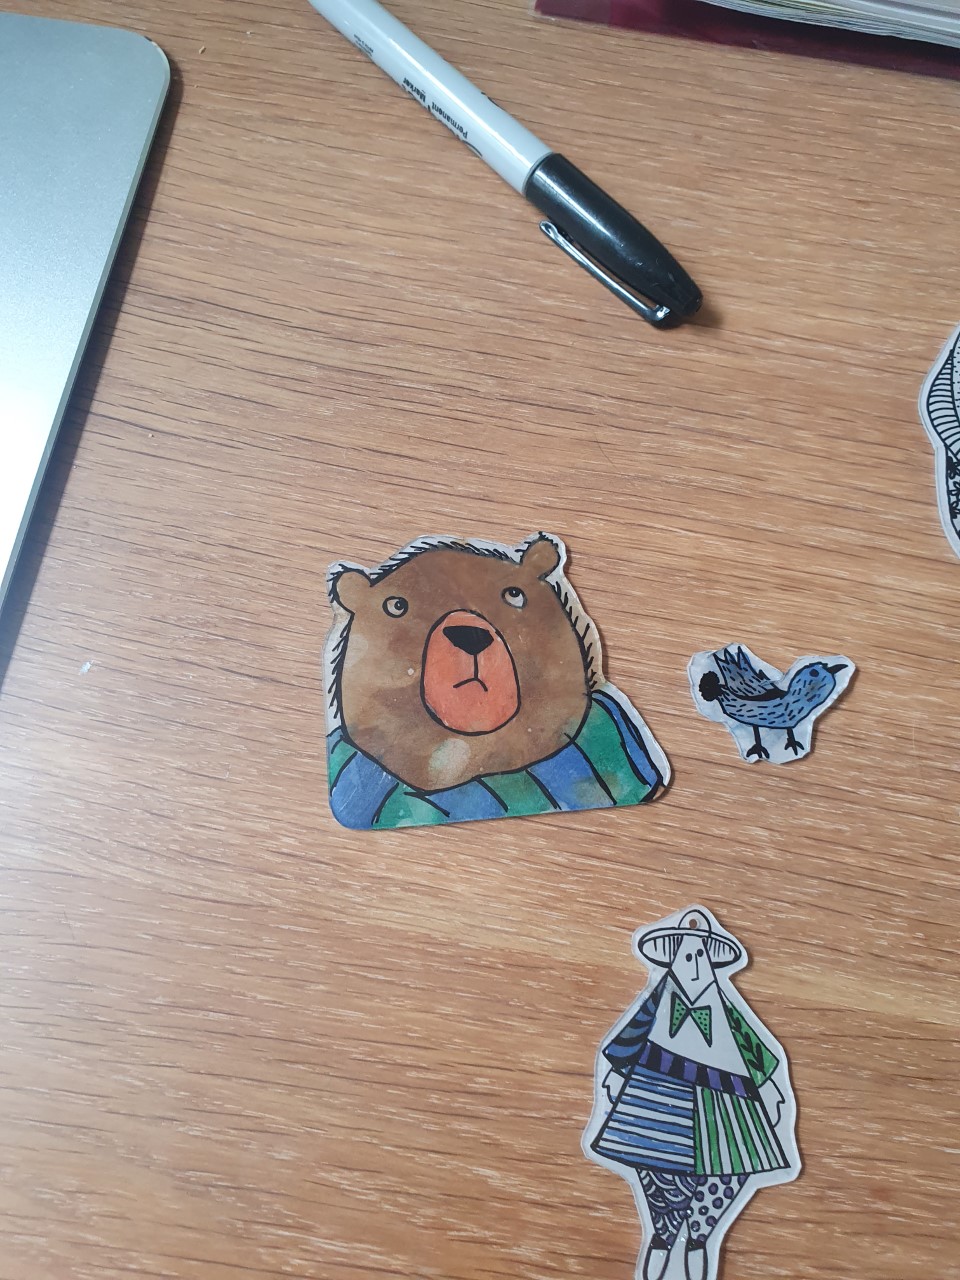
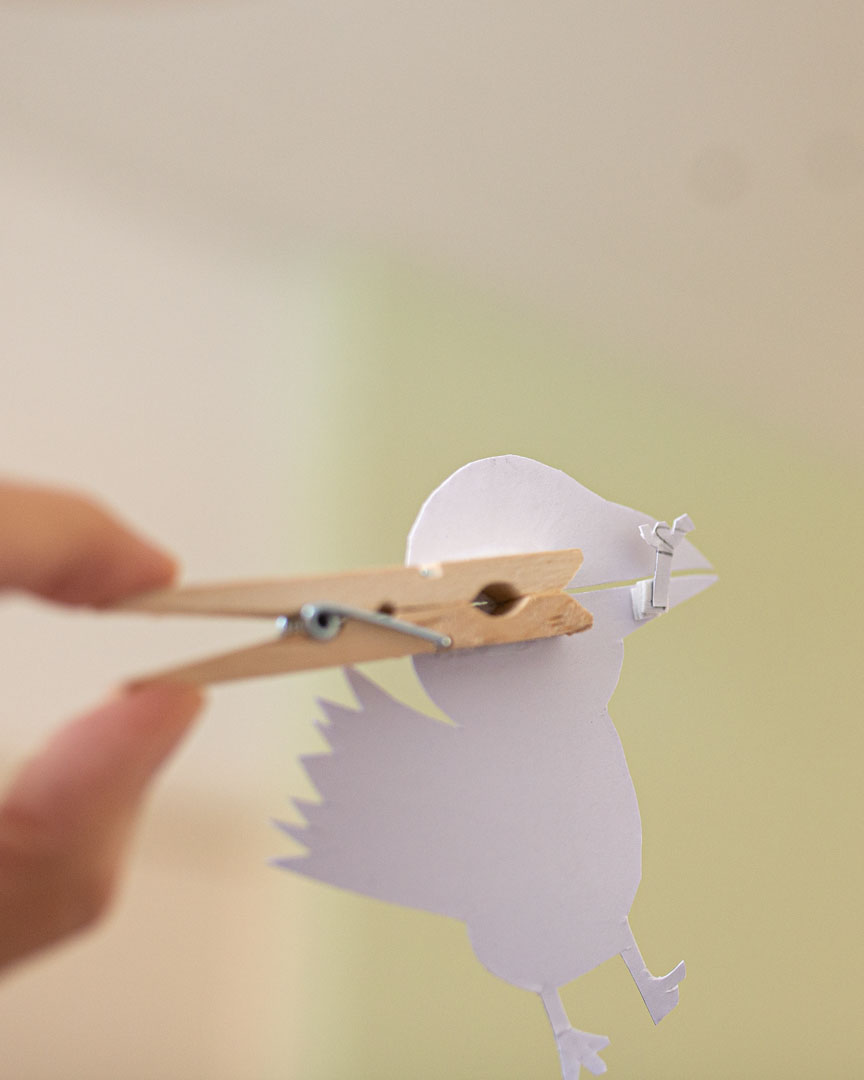
Este foi feito pelo Theo. Ele disse que queria fazer um Magpie (acho que este pássaro é conhecido como Pega, no Brasil, mas ele não é típico da região), que é outro animal queridinho por aqui, mas esqueceu de fazer o longo rabo dele. Eu diria então que pode ser bem um corvo, não acham?
This was made by Theo. He said he wanted to make a Magpie, which is another beloved animal around here, but forgot to make his long tail. I would say then that it can be quite a crow, don’t you think?


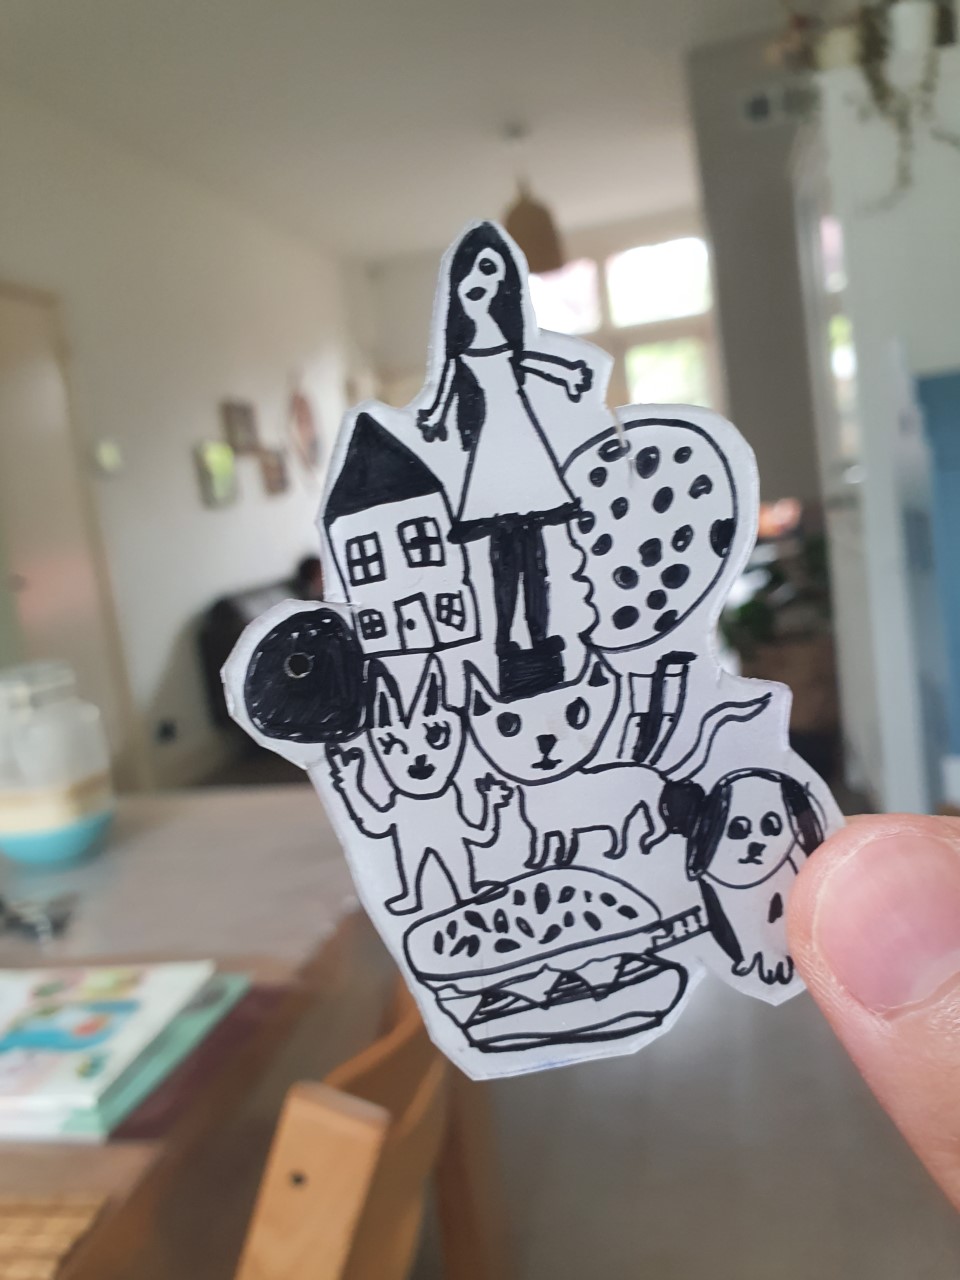
Para colar o animalzinho (coitado) que está prestes a ser devorado, usamos uma esponjinha própria para dar volume ou espaço entre as colagens.Se não tiver isso, basta colar pedacinhos de papelão atrás para dar o mesmo efeito. Veja lá como fica o verso.
To glue the little animal (poor thing) that is about to be devoured, we use a special sponge to add volume or space between the collages. If you don’t have it, just stick pieces of cardboard on the back to give the same effect. See how the verse looks like.

Lorena teve a vez dela criando um lindo crocodilo. Talvez o pássaro esteja lá somente para limpar os dentes dele.
Lorena took her turn creating a beautiful crocodile. Perhaps the bird is only there to clean its teeth.


Mais dois animaizinhos aqui.
Just more two animals here.


